How to create a Workspace
Note: If you are experiencing any issues with creating a Workspace, feel free to contact our support team that’s available 24/7.

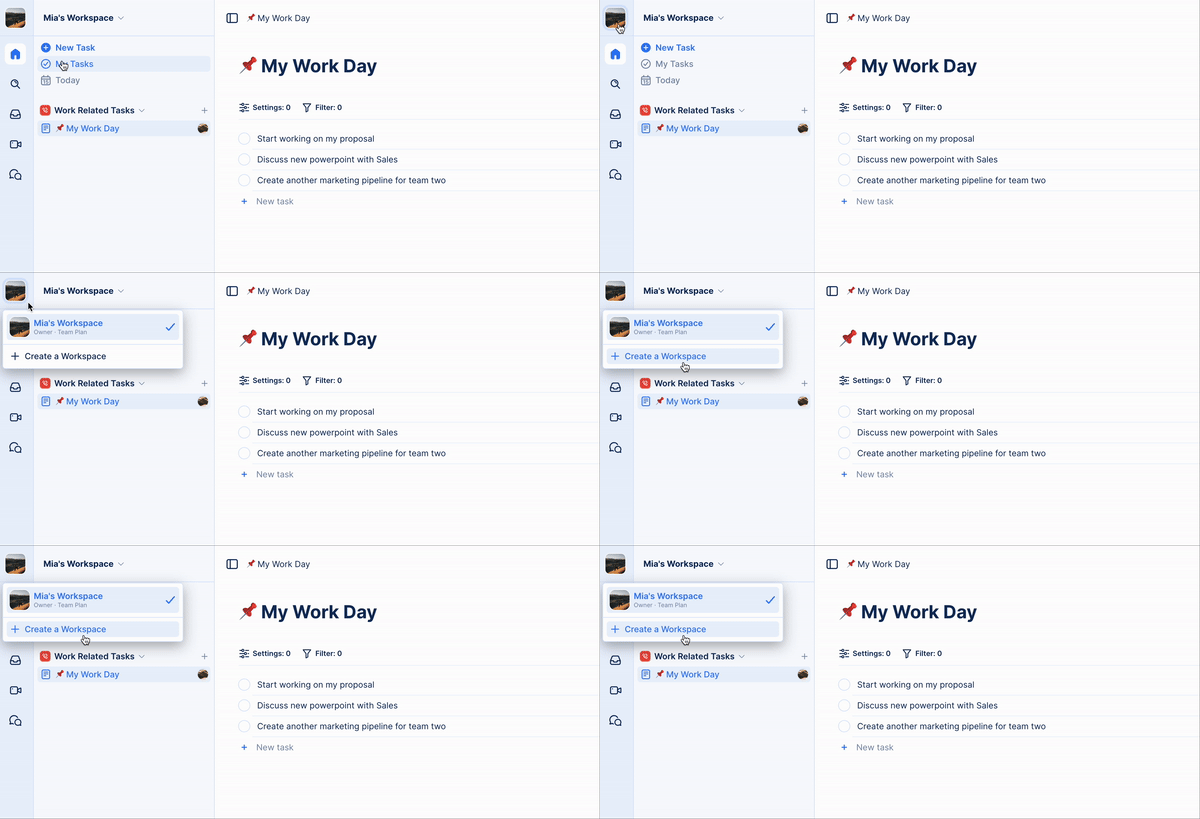
- Navigate to TaskOrbiter.
- Click your Workspace avatar in the top left corner of the dashboard.
- Click the + Create a Workspace button.
- You will then be taken to the new Workspace set up.
- Add a name for your new Workspace.
- Click Create.
- You will now be able to select your plan level.
- Keep in mind you can always change your plan level in your Workspace settings.
- If you’re curious about each of our plan levels, click Show all features.
Tip: When you complete setting up your Workspace, if you want to change your name or avatar, you can do this in your Workspace Settings.
Was this article helpful?