


When you create your first TaskOrbiter Workspace, you will have a default Space. You can edit this whenever you want but if you need to create more spaces, this is how:
How to create a Space

Note: Depending on your plan level, you may have a limitation on the number of spaces you can create. Learn more about space limitations here.
Creating from the sidebar
In your sidebar you can always add a new space if you want to further organizing your pages and tasks. Keep in mind that TaskOrbiter Free plan only allows for 1 space.
- Navigate to TaskOrbiter.
- Once you’re on the dashboard, make sure to have your sidebar open.
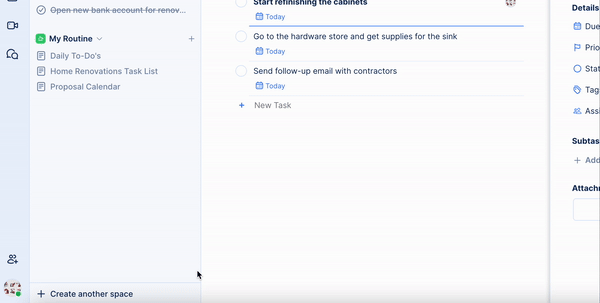
- Down at the bottom, click the + Create another Space button.
- This will open the Space configurator.
- You can now configure the following:
- The color of your Space avatar.
- The icon to represent your work in the Space.
Creating from settings

You can easily create more Spaces once you access your Workspace Settings. Keep in mind, this is where you can make edits to each of your Spaces.
- Click your Workspace name in the top left corner of the dashboard.
- Click Settings.
- Once in your Workspace Settings modal, scroll down to your Spaces
- Click + Add a Space.
- You’ll then get the Space configurator where you can build your new Space and from here you can:
- Choose an icon.
- Pick the color for your new Space.
- Type the name to personalize your Space.
Editing your Space

Once you’ve created your Space, you can customize it to help distinguish it from other Space.
- Click the + Create another Space, + Add a Space or edit Space button.
- You will now be able to add the following information:
- Space name.
- Space description (optional).
- Color of your Space icon.
- Icon.
- Click save.

Tip: Hover over your Space name in the Sidebar to see a card with quick details about your Space.
Was this article helpful?