


Welcome to TaskOrbiter — your all-in-one task management platform. TaskOrbiter has put all of your work and communication under one roof and whether you are tracking a project or planning your day, we have you covered. If you haven’t already, create your first account and check out the guide below for a quick tour to learn the basics.
How to use TaskOrbiter: your quick start guide

Tip: When you’re ready to get started with creating your first task, read our guide here.
Main Sidebar
Lets get started with going over your sidebar which will help you find anything in your Workspace. This sidebar will always be there no matter where you navigate this way you can quickly access different apps. Feel free to check out our Sidebar Walkthrough guide that explains each of these apps!
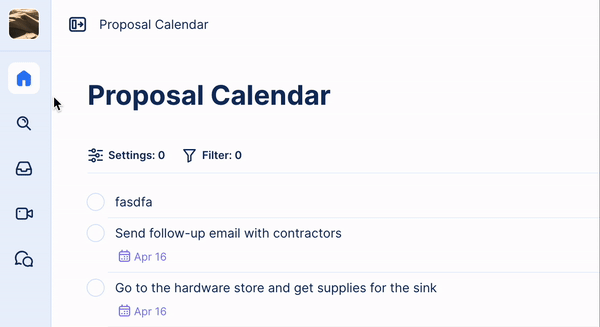
Starting from the top you have:
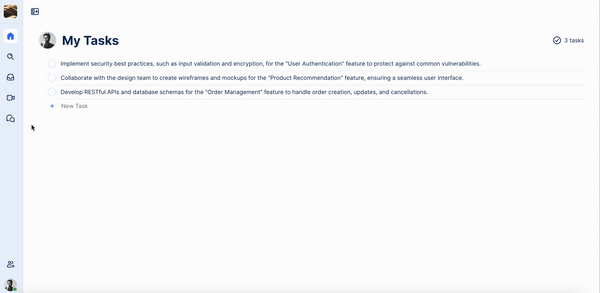
Home: This is how you can always come back to your tasks, meaning when clicking this you will be taken to My Tasks.
Search: This enables you to search across all of your Spaces and the entire Workspace.
Inbox: This app will contain all of your notifications and you can see when someone assigns you a task to billing updates.
Calls: This is where you can host video or audio calls with those apart of your Workspace.
Chat: This app allows you to message members of your Workspace similar to existing services that you’re familiar with. You can create Channels, group conversations and send DM’s.
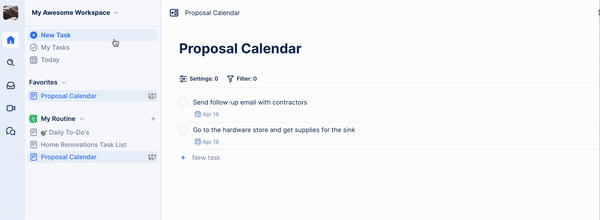
Inner Sidebar
Your inner sidebar is where you can perform actions that are relevant to which app you’re in. From here you can create a new tasks, go to My Tasks, see when items are due today, access all your pages within your Space and the ability to edit or create new pages.
The only time this sidebar will change is when you open the Calls app and thats when you will see your Call history. In all other instances, you will see the elements mentioned above.

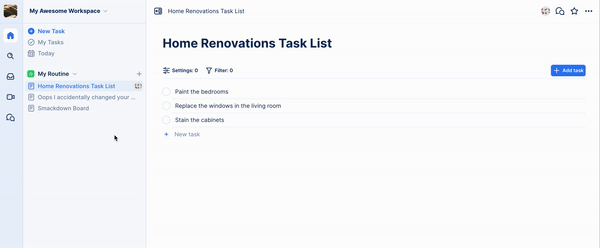
Start with a Space
Spaces in TaskOrbiter are ways to help organize your tasks, that way you can keep focus on your work. These Spaces are places where you can add pages that will live under your Space.

Keep in mind, when you create your first Workspace in TaskOrbiter, you will have a default space. Depending on which plan level you’re on, you may have a limitation on the number of Spaces you can create. You can also customize your space by changing its name, color and icon to help represent how you’re organizing your work.
For example, you can create Spaces named:
- My Routine: which is where you can manage your to-do’s throughout your day.
- Summer Reading Project: to help manage your reading and tasks necessary to complete the reading.
- Product Engineering Team: capture work items for your team members on a sprint kanban board.
Your first task
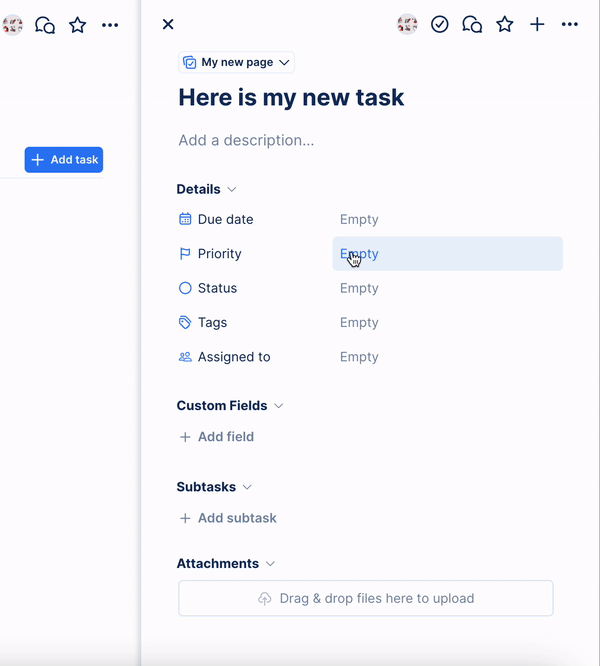
Tasks are the bread and butter of TaskOrbiter, this is where you can track your work so lets create your first one!
You can start by clicking New Task button in your sidebar and this will open your new task modal. From here you can start filling out your task and quickly add it to either My Tasks or a Page. On each of your tasks you can add a:
- Title
- Description
- Due date
- Priority level
- Status
- Tag(s)
- Assignee
- File attachments
- Subtask
- Choose the list where your task will live. You can either add this task to your personal list which is found on My Tasks or add it to a list thats on a Page.
If you’re interested to learn more about tasks, check our introduction to Tasks.
Scheduling your work
Sometimes our work has deadlines and we need to set due dates. You can do just that with our intuitive date picker, whether its due today, this coming Friday or next month just click Due Date when creating your task.

You can also quickly set a date for a task by hovering over the item when viewing it in a list view.
Creating your first Page
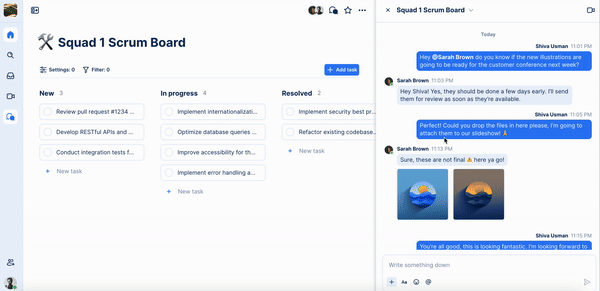
Pages in TaskOrbiter are when your tasks can be seen. Each page will host all of your tasks and you can even configure the way you see these tasks via your view settings. You can see your tasks on a list, board or calendar and you can quickly change between these view types on your page.
If you’re interested to learn more about Pages and how you can configure them to organize your work, check out our Page guide!
Prioritize and set a status
Once creating your tasks, you can set custom priorities and set a status to help track your work from start to finish. Keep in mind, at any point you can create new priorities or statuses by just typing into the field. You can learn more about how these can be used throughout TaskOrbiter in our priorities and statuses guide!
Message others in your Workspace
Message others in your Workspace
In TaskOrbiter we understand that when working with a team, communication is crucial. This is why we took it a step further than just adding comments and built a full messaging capability alongside your tasks that we call Chat. Gone are the days of having to message others in one application then track your tasks in another, we believe you should be able to do everything under one roof.
Every task, Page or Call you create in TaskOrbiter has an attached chat. We believe this helps with keeping conversations organized and in context with your work and you never los You can also create Channels, which are places where you can keep conversations organized, for example, #general or #engineering.
If you need to send a workspace member a DM or start a group conversation with several members you can do all of this in Chat which can be opened or closed from your main sidebar.

Note: You need to be on the Team plan or higher to access all of Chat. Feel free to check out our plan levels!
Have audio and video Calls
Similar to our mindset behind Chat, the ability to call members of a Workspace is woven into TaskOrbiters DNA. You can not only message others but in your chats and Pages you can quickly light up an audio or video call! This is because we understand that sometimes a message isn’t enough and we want to empower you to work together as a team.
Anywhere in your chats, whether its an attached chat, Channel or DM you can click the Start a Call button. You can also just open the Calls app in your main sidebar, title a call, invite others then start talking to others!
Note: You need to be on the Team plan or higher to access Calls. Feel free to check out our plan levels!
Lets work together!
Now that we’ve gone over the basics of TaskOrbiter, that means you’re ready to start knocking out projects one by one! We recommend checking out our other help guides that dive further into our features or if you have any questions, our support team is here 24/7 to assist!
Tip: Check out our pre-made templates that are tailored to your use case! If you don’t see one that you’re looking for, drop us a recommendation and our team will look into it.
Was this article helpful?